Plant Identification Checklist: Photos, Details, and Verification Steps
A practical plant identification checklist to photograph the right clues, compare lookalikes, and run verification steps before you trust a photo-based match.
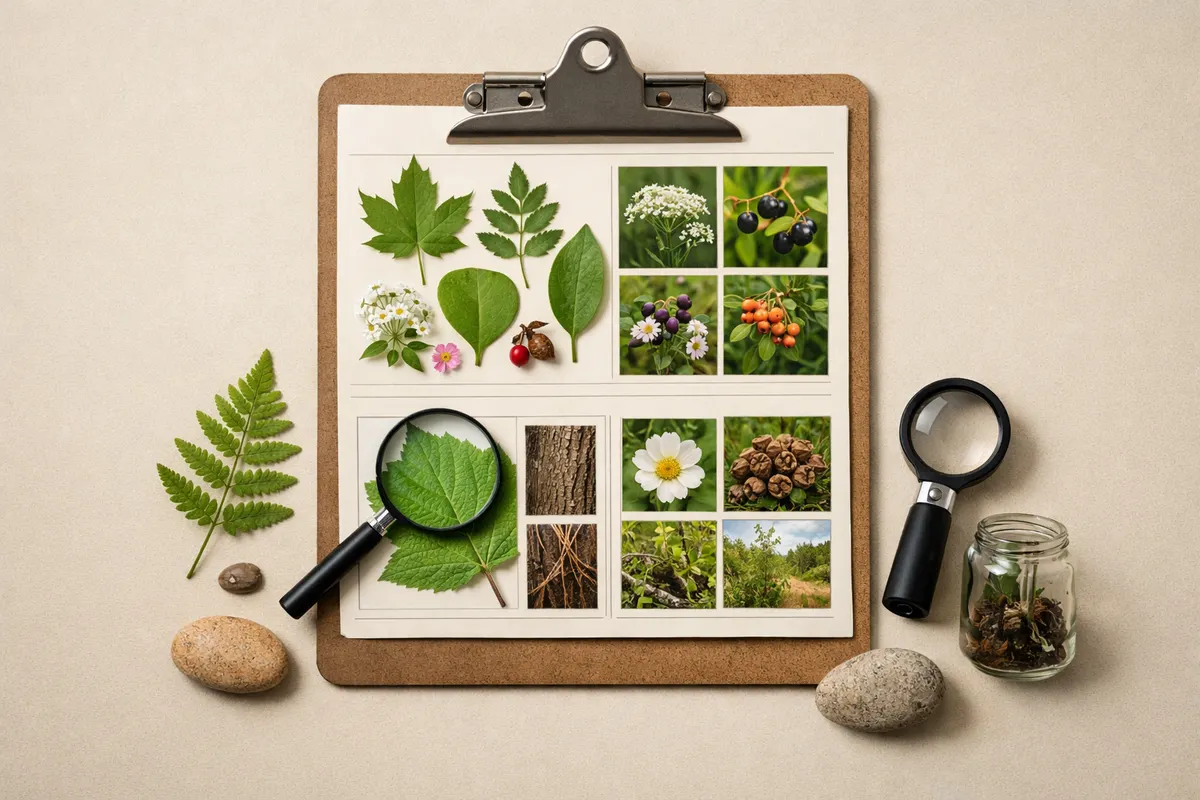
Quick answer: plant identification checklist at a glance
A plant identification checklist helps you decide which photos and context details matter most and what follow-up checks to run before accepting a photo-based ID. Start by photographing leaf shape, flowers or fruit, stem and bark texture, and the plant’s growth habit; note where and when you found it. These elements give the highest visual payoff for most identifications.
No single photo proves every detail. Use a checklist to prioritize multiple shots and field notes so that a later comparison — to guidebooks, databases, or experts — is based on solid evidence instead of a single cropped image.
If you need a quick rule: photograph multiple features (leaves, reproductive parts, whole plant) plus scale and habitat. Treat any automated or app match as a research lead, not a final verdict — especially for lookalikes or plants with safety implications.
What a plant identification checklist actually does
A plant identification checklist is a practical tool that turns curiosity into usable data. Instead of guessing from one quick snapshot, the checklist directs you to capture and record the traits that reliably separate species: leaf arrangement, flower shape and color, fruit or seed features, stem details, and where the plant grows. That evidence makes visual comparison and expert review faster and more accurate.
Think of the checklist as a translator between a field photo and a plant description. For example, two species might share leaf color and general shape, but recording whether leaves are opposite or alternate, or whether flowers have five or six petals, often resolves the match. The checklist complements visual comparisons by making contradictions visible: if the flower photo doesn’t match the leaf photo, you have a reason to pause.
In practical terms, the checklist also supports safety and verification: when a plant could be toxic, edible, or legally regulated, clear photographic and contextual records let you and other reviewers flag uncertainty and seek additional confirmation before acting.
Key clues
Not all features are equally useful. Prioritize clues that taxonomists and seasoned observers use first: leaf arrangement (opposite vs alternate), leaf margin (serrated, smooth, lobed), and leaf shape (ovate, lanceolate, needle). These are often visible in good photos and rapidly narrow the candidate list.
Reproductive structures are often decisive. Flowers, buds, fruits, and seeds show species-specific traits: petal count, symmetry, inflorescence type (cluster, spike, head), fruit shape and color. Whenever possible take close-ups of flowers and fruits from multiple angles while capturing a ruler or another item for scale.
Contextual clues anchor the visual traits. Note the habitat (wetland, roadside, forest understory), substrate (rocky soil, clay, sand), and geographic location or elevation. Season and phenology (flowering vs fruiting time) are equally important — the same species looks different across seasons and life stages.
- Leaf details: arrangement, margin type, shape, size, and venation pattern.
- Flowers and fruit: petal count, symmetry, color, cluster type, and fruit cross-sections.
- Stem and bark: hairiness, color, lenticels, and whether stems are woody or herbaceous.
- Whole-plant habit: height, branching pattern, and whether it’s single-stemmed, clumping, or vine-like.
- Scale and measurement: include a coin, ruler, or hand for size reference in at least one image.
- Habitat notes: GPS or place name, soil moisture, surrounding plant community, and sunlight exposure.
- Phenology: date of observation and whether the plant is flowering, fruiting, or dormant.
Step-by-step workflow
1) Prepare: Before you start photographing, have a simple checklist on your phone or a printed card. Carry a small ruler or use a standard coin for scale. If you plan to review later, note the date and general location. That preparation turns casual photos into usable records.
2) Capture multiple views: Take a wide shot of the whole plant to show habit and growth form. Follow with medium shots showing branching and leaf arrangement, then close-ups of individual leaves, the stem, and any flowers or fruits. Aim for sharp images with good lighting and at least one image that includes a scale reference.
3) Record quick notes: After photographing, jot down habitat details and one-sentence context: ‘edge of wetland, heavy clay, shaded by oaks, about 1.2 m tall.’ These notes often resolve ambiguous visual matches later and help experts filter out similar species that prefer different habitats.
4) Compare systematically: Use your checklist to compare photos against field guides, authoritative websites, and image databases. Start with leaf and flower traits; then cross-check habitat and phenology. When multiple traits line up, confidence grows. If traits conflict, flag the ID as provisional and look for additional evidence.
5) Verify or escalate: For uncertain or risky identifications — potential toxins, regulated species, or valuable plants — seek a second opinion from local herbaria, extension services, botanists, or trusted online forums that require multiple supporting photos and context. Preserve a specimen or take additional photos across seasons if possible.
Examples: applying the checklist in common situations
Example 1 — A roadside shrub with white clusters of flowers: A whole-plant photo shows a multi-stemmed shrub about 2 m tall. Close-ups reveal opposite leaves with serrated margins and umbels of white flowers. These clues point toward a genus with opposite leaves; because flowers are clustered and opposite leaves are present, you can exclude common alternate-leaved shrubs. Habitat (roadside, disturbed soil) further narrows likely candidates.
Example 2 — A lone tree leaf found on a lawn: A single leaf on the ground can be misleading. Photograph the leaf’s upper and lower surfaces, capture the petiole and whether it’s simple or compound, and try to find the parent tree for a whole-branch shot. If you can’t find the source tree, note nearby tree species and check venation and margin clues before matching images in a guide — many unrelated trees produce similar fallen leaves.
Example 3 — A wildflower with a lookalike that’s potentially toxic: When a flower resembles both an edible species and a toxic cousin, reproductive details usually separate them: the number of stamens, whether petals are fused, or the seed capsule shape. If your photos lack those details, stop and collect additional close-ups, or tag the ID as uncertain and consult a regional expert before assuming it’s safe.
- Roadside shrub: use leaf arrangement (opposite vs alternate) to exclude many lookalikes quickly.
- Single leaf: always try to locate the parent plant or get multiple leaves showing attachment and venation.
- Potentially toxic lookalike: prioritize clear flower and fruit close-ups and note habitat before trusting a match.
Limitations: what a checklist won’t confirm alone
A checklist improves the quality of photographic evidence, but it has clear limits. One photo, even an excellent one, rarely proves species identity in groups with many close lookalikes or where microscopic or chemical traits are diagnostic. For example, some grasses, sedges, and certain fungi require magnification or chemical tests that photography alone cannot provide.
Safety and legal status can’t be determined from a single image. Never assume a plant is safe to eat, touch, or handle based solely on a photo. Likewise, you cannot confirm a protected or regulated species’ legal status (for permits or control measures) without expert verification and, sometimes, a collected specimen examined by an authority.
Use three outcome levels to set expectations: high confidence (multiple matching traits and habitat alignment), partial confidence (several matching visual traits but missing reproductive details), and uncertain (contradictory traits, poor photo quality, or no reproductive parts). For partial or uncertain matches, seek verification by sharing full evidence with a specialist, herbarium, extension agent, or a vetted community that requires descriptive notes and multiple photos.
- High confidence: detailed photos of leaves, flowers/fruits, habit, and matching habitat/season.
- Partial confidence: good leaf images but missing reproductive structures or scale.
- Uncertain: poor lighting, single unclear photo, or traits that contradict each other.
Related guides
Next step: use Leaf Identification: Leafzy as a structured next pass
After you’ve used this plant identification checklist to collect clear photos and habitat notes, try Leaf Identification: Leafzy as a next-pass research tool to organize images and compare likely matches. Treat any app suggestions as starting points: keep your checklist evidence handy, review suggested matches against your photos, and flag uncertain results for human verification. If a plant could be toxic, regulated, or valuable, use Leafzy’s results only as research notes and contact a local botanist, extension office, or herbarium before taking action.

Frequently asked questions
How many photos do I need for a reliable plant identification?
Aim for at least four distinct photos: a whole-plant shot for habit, a mid-range shot showing branching and leaf arrangement, a close-up of a representative leaf (showing upper and lower surfaces if possible), and a close-up of flowers or fruits. Include a scale reference in at least one image and note habitat and date. Quality and variety matter more than sheer quantity: a focused set of clear, well-lit images is better than many blurred or redundant shots.
What camera settings or techniques help capture useful identification photos?
Use natural light when possible and avoid harsh midday sun that creates blown-out highlights and deep shadows. Get close with macro or portrait mode for small flowers, but maintain steady hands or use a small tripod to prevent blur. Include a scale like a coin or ruler, and take shots from multiple angles (top, side, underside for leaves and flowers). If your phone has manual focus or exposure controls, use them to keep small details sharp and correctly exposed.
Can an app or online tool confirm a plant’s identity from a single photo?
Automated matches can be a useful lead but should be treated as provisional. Many apps use image similarity or pattern recognition and can suggest likely species, but they can be fooled by lookalikes, juvenile forms, or atypical specimens. Always cross-check app suggestions against your checklist photos and habitat notes, and seek human verification for critical identifications, particularly those involving safety, legal, or economic consequences.
When should I seek expert verification instead of relying on my photos?
Seek expert verification if the plant could be toxic, edible, invasive, rare, or legally protected, or if the photo evidence leaves key traits ambiguous. Also consult an expert when identifying members of groups known for close lookalikes (some orchids, grasses, and Apiaceae, for example). Experts can request additional photos, preserved specimens, or microscopic analysis; your checklist records will speed up that process and make the consultation more productive.